If I Download Ubuntu Will I Lose Windows
This tutorial volition guide you on how yous can perform the installation of Ubuntu 20.04, Ubuntu 19.04, Ubuntu 18.10, or Ubuntu 18.04 in dual-kick with a Microsoft Operating System on machines that come pre-installed with Windows ten.
This guide assumes that your car comes pre-installed with Windows 10 Bone or an older version of Microsoft Windows, such equally Windows viii.ane or eight.
In case your hardware uses UEFI then you should modify the EFI settings and disable the Secure Kicking characteristic.
If your computer has no other Operating System already installed and you lot program to use a Windows variant alongside Ubuntu, you should first install Microsoft Windows and then proceed with Ubuntu installation.
In this particular case, on Windows installation steps, when formatting the hard disk, you should allocate a complimentary space on the disk with at to the lowest degree twenty GB in size in society to employ it later on as a partition for Ubuntu installation.
Requirements
Download Ubuntu ISO Image equally per your system architecture using the following link:
- Download Ubuntu 20.04 Desktop
- Download Ubuntu 19.04 Desktop
- Download Ubuntu 18.10 Desktop
- Download Ubuntu 18.04 Desktop
Stride i: Prepare Windows Machine for Dual-Boot
i. The commencement affair you demand to accept care of is to create free space on the computer hard disk in case the system is installed on a single partition.
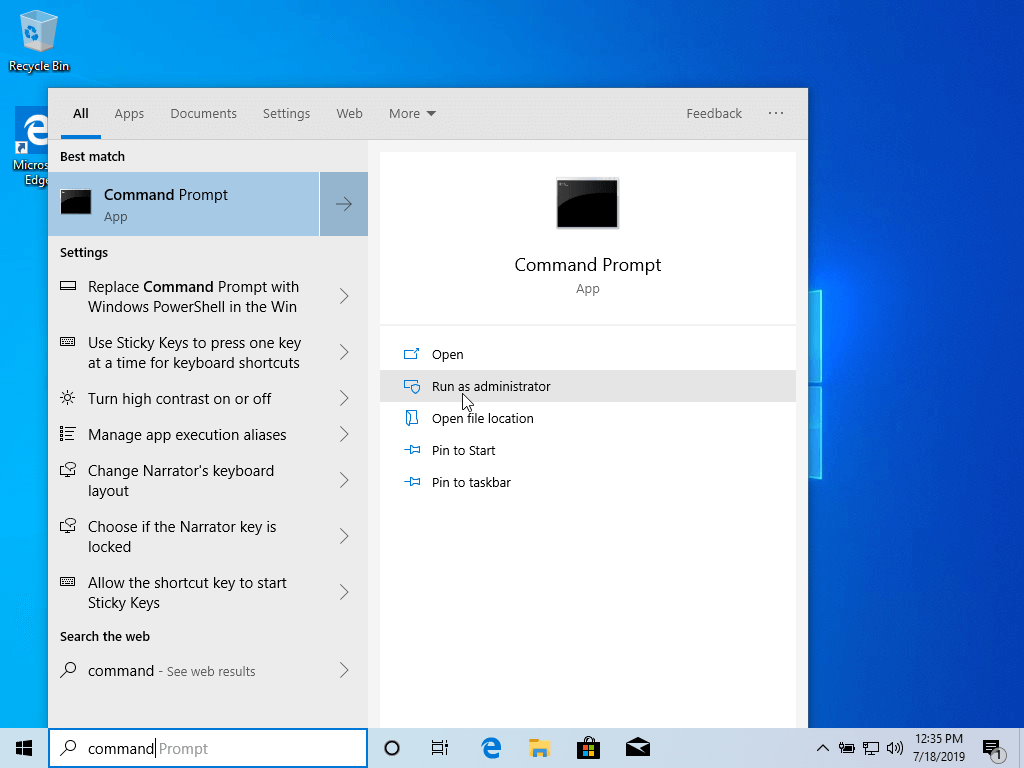
Log in to your Windows machine with an administrative account and right-click on the Start Card -> Control Prompt (Admin) in society to enter Windows Command-Line.
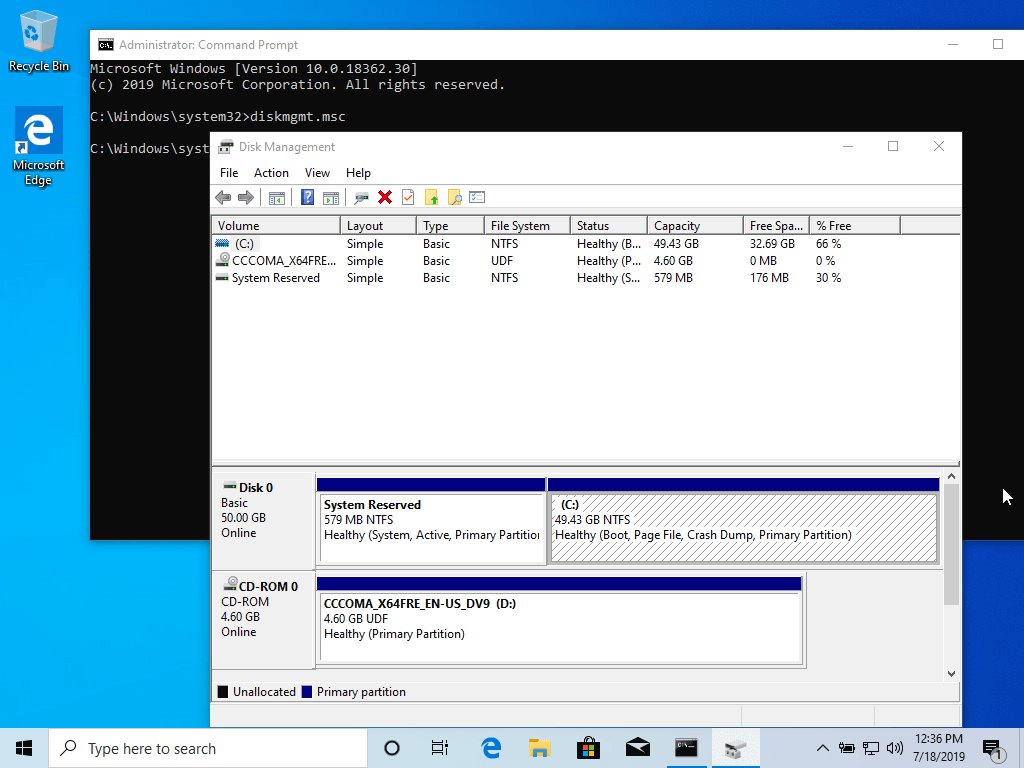
two. In one case in CLI, type diskmgmt.msc on prompt, and the Deejay Management utility should open up. From here, right-click on C: the partition and select Compress Volume in gild to resize the partitioning.
C:\Windows\system32\>diskmgmt.msc
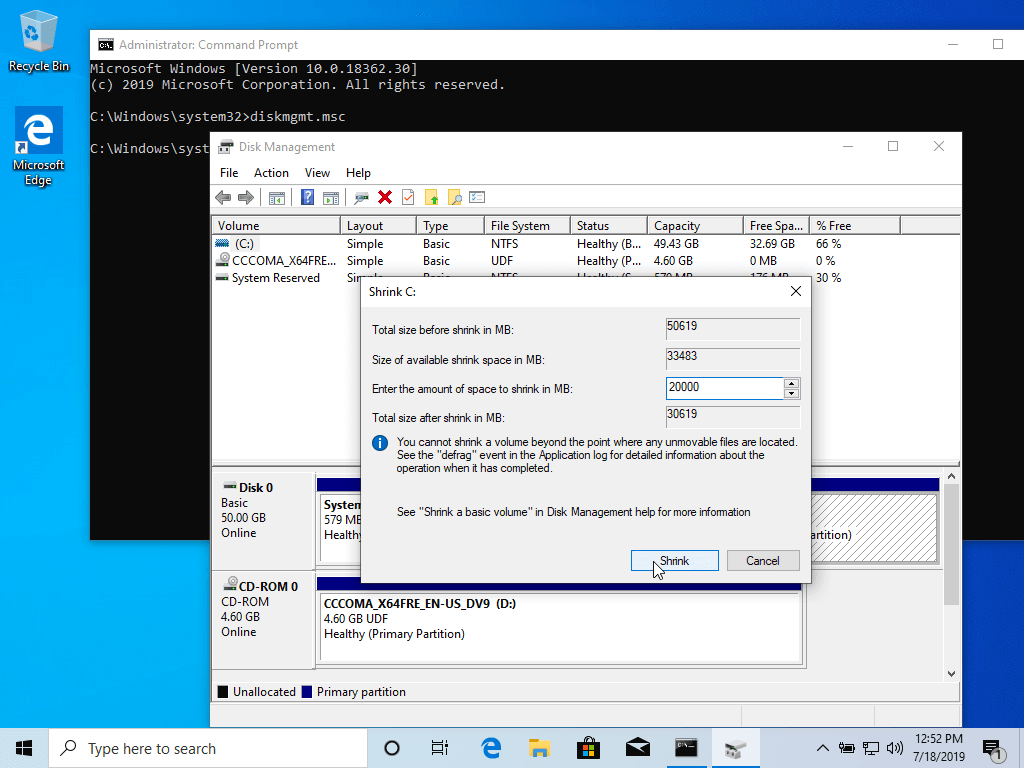
3. On Compress C: enter a value on infinite to shrink in MB (use at least 20000 MB depending on the C: partition size) and hit Shrink to start sectionalisation resize every bit illustrated below (the value of infinite shrink from below image is lower and but used for demonstration purposes).
Once space has been resized you will meet a new unallocated space on the difficult drive. Leave it as default and reboot the computer in order to proceed with the Ubuntu installation.

Pace 2: Install Ubuntu with Windows Dual-Boot
4. For the purpose of this article, Nosotros volition be installing Ubuntu 20.04 alongside Windows dual boot (yous can employ any Ubuntu release for installation). Go to the download link from the topic description and grab the Ubuntu Desktop xx.04 ISO image.
Burn the image to a DVD or create a bootable USB stick using a utility such as Universal USB Installer (BIOS compatible) or Rufus (UEFI compatible).
[ You might also similar: Create Bootable USB Device Using Unetbootin and dd Command ]
Identify the USB stick or DVD in the appropriate drive, reboot the auto, and instruct the BIOS/UEFI to boot up from the DVD/USB by pressing a special office key (usually F12, F10 or F2 depending on the vendor specifications).
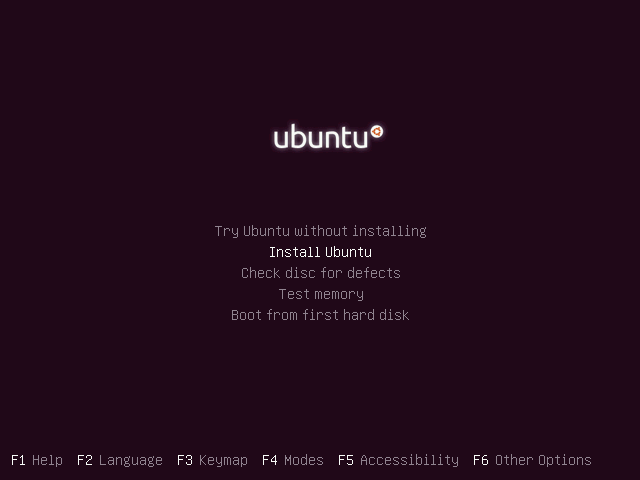
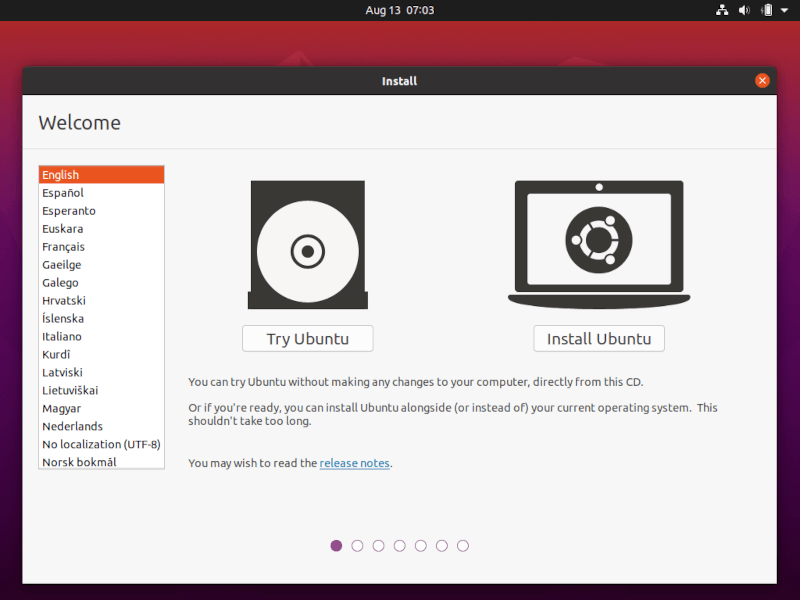
Once the media boot-up a new grub screen should appear on your monitor. From the card select Install Ubuntu and hit Enter to continue.
5. Later on the boot media finishes loading into RAM y'all will end up with a completely functional Ubuntu system running in live manner.
On the Launcher choose Install Ubuntu, and the installer utility will start. Choose the keyboard layout you wish to perform the installation and click on the Proceed button to go on further.

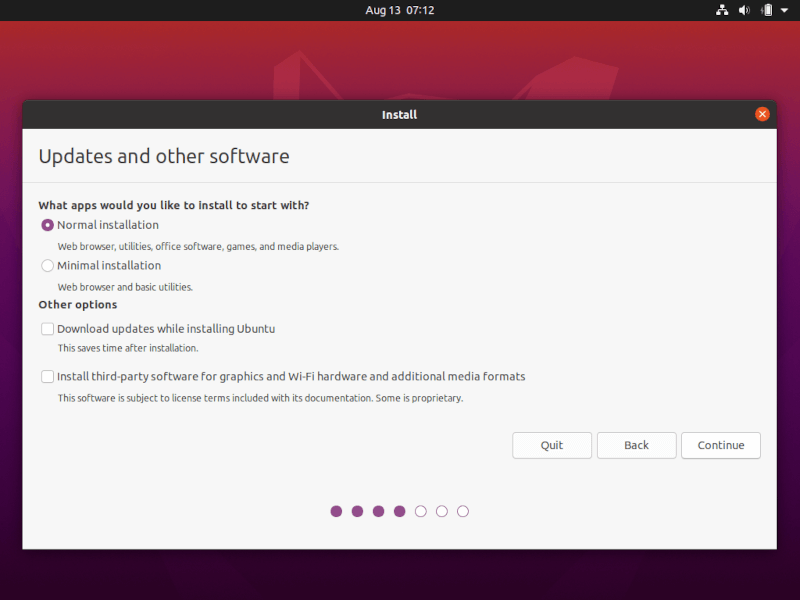
6. Adjacent, cull the first option "Normal Installation" and hit on the Go on push button over again.
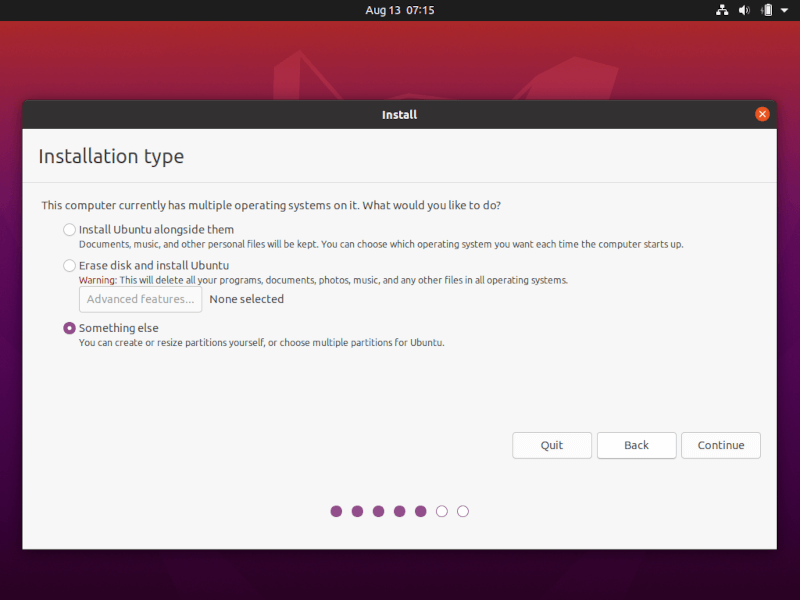
7. At present information technology'south time to select an Installation Type. You tin can choose to Install Ubuntu alongside Windows Boot Manager, an option that will automatically take intendance of all the partition steps. Use this option if you don't require a personalized partition scheme.
In case you want a custom sectionalization layout, check the Something else option and hit on the Continue button to proceed farther.
The pick Erase disk and install Ubuntu should be avoided on dual-boot because is potentially dangerous and will wipe out your disk.
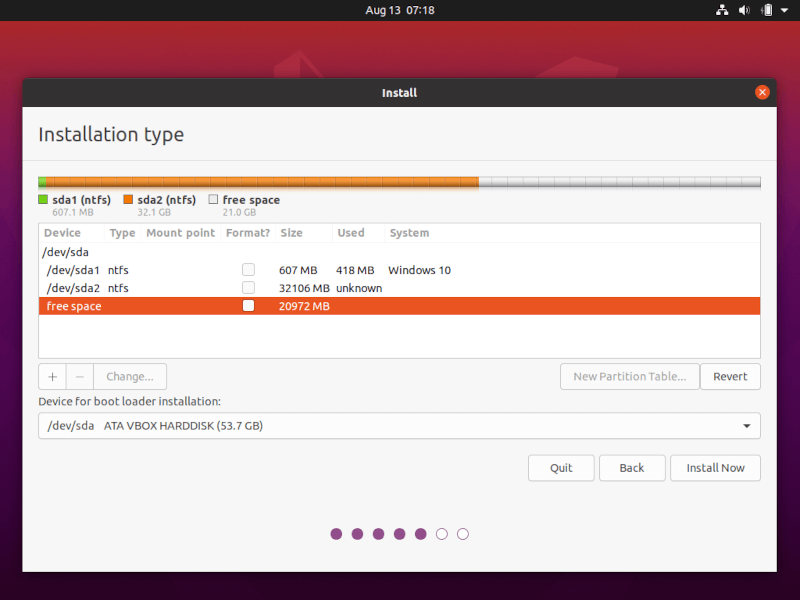
8. In this step, we'll create our custom partition layout for Ubuntu. This guide will recommend that you lot create two partitions, one for root and the other for domicile accounts data, and no partition for bandy (use a bandy sectionalization simply if yous have express RAM resources or you use a fast SSD).
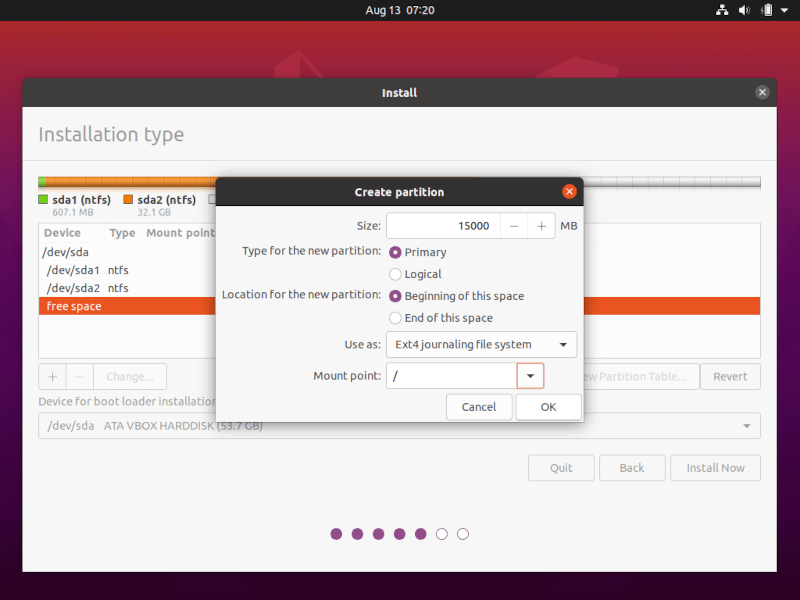
To create the first partition, the root partition, select the free space (the shrinking space from Windows created earlier), and hit on the + icon below. On partition settings use the following configurations and hit OK to apply changes:
- Size = at least 15000 MB
- Type for the new sectionalization = Primary
- Location for the new partition = Kickoff
- Use equally = EXT4 journaling file system
- Mount point = /
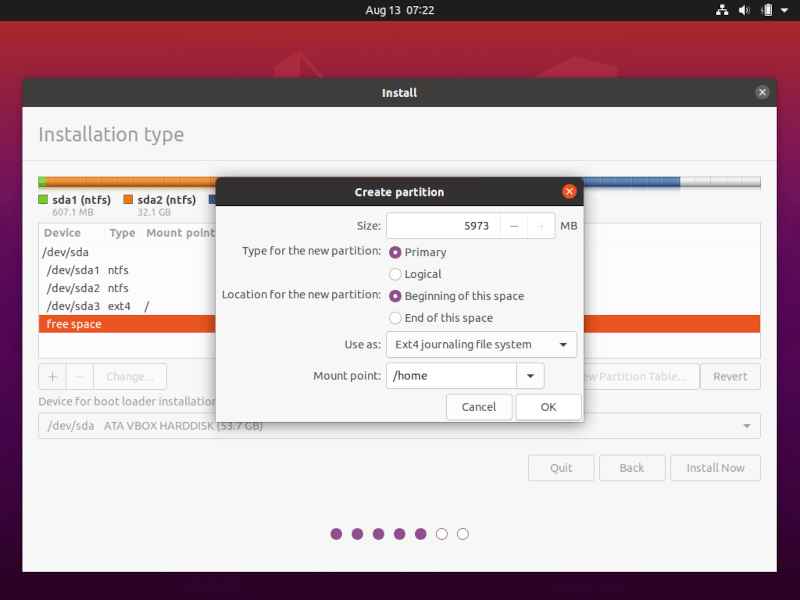
Create the home sectionalization using the same steps as above. Utilise all the available free infinite left for the habitation segmentation size. The partition settings should look like this:
- Size = all remaining costless space
- Type for the new sectionalization = Main
- Location for the new division = Get-go
- Use as = EXT4 journaling file system
- Mount point = /home
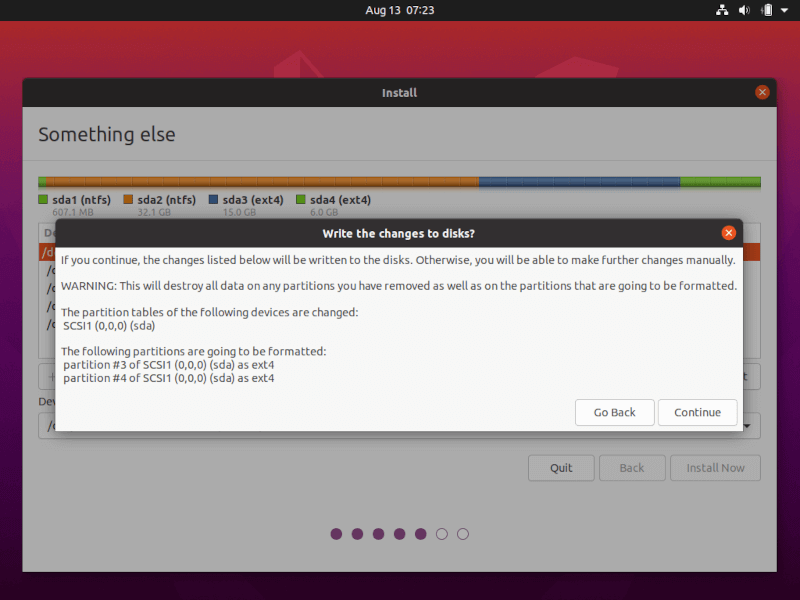
nine. When finished, hit the Install Now button in order to apply changes to the deejay and start the installation procedure.
A pop-upwardly window should appear to inform y'all about swap space. Ignore the alert by pressing the Continue button.
Next, a new pop-up window will ask yous if you hold with committing changes to the disk. Hit Continue to write changes to deejay and the installation procedure volition at present beginning.
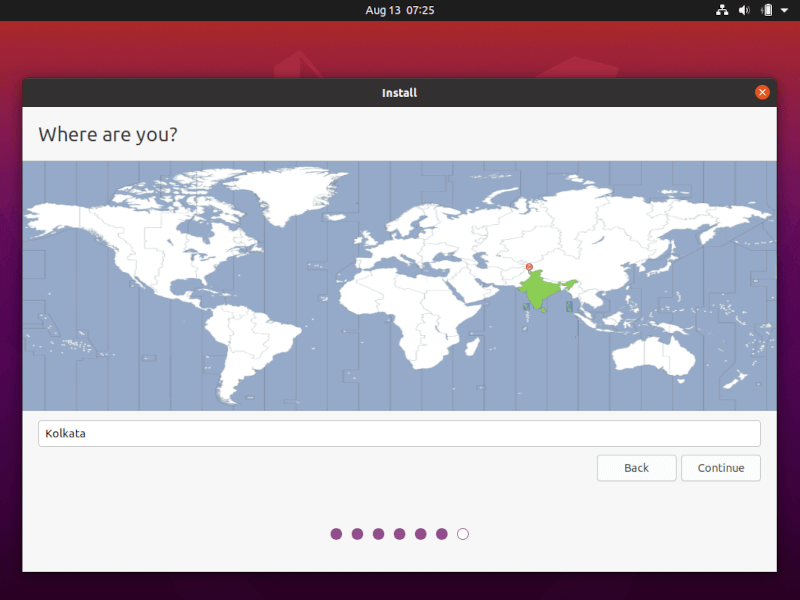
10. On the next screen adjust your machine's concrete location by selecting a city nearby from the map. When done striking Continue to motion ahead.
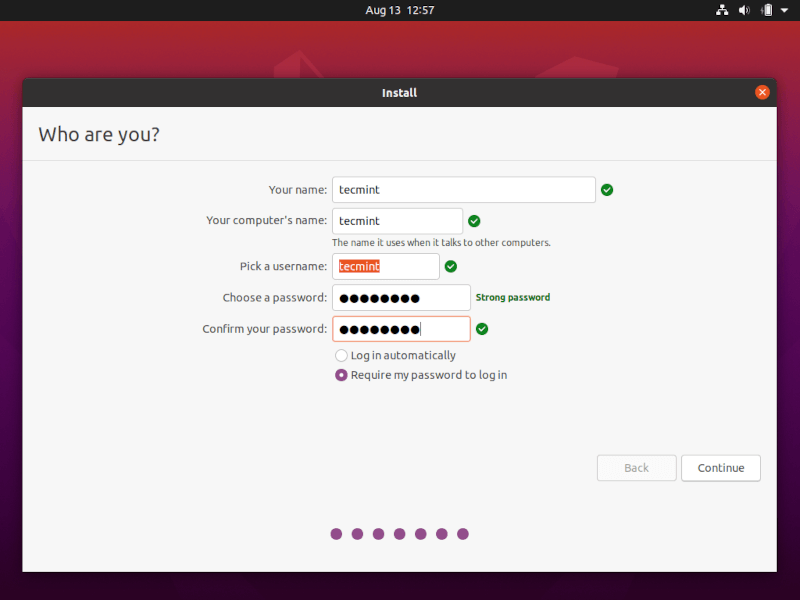
11. Pick up a username and password for your administrative sudo account, enter a descriptive name for your computer and hit Continue to finalize the installation.
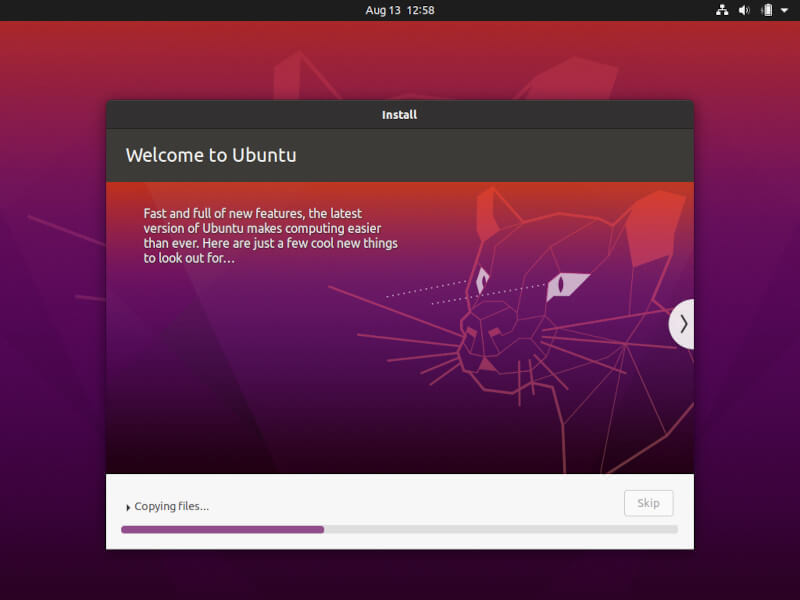
These are all the settings required for customizing the Ubuntu installation. From here on the installation procedure volition run automatically until it reaches the end.
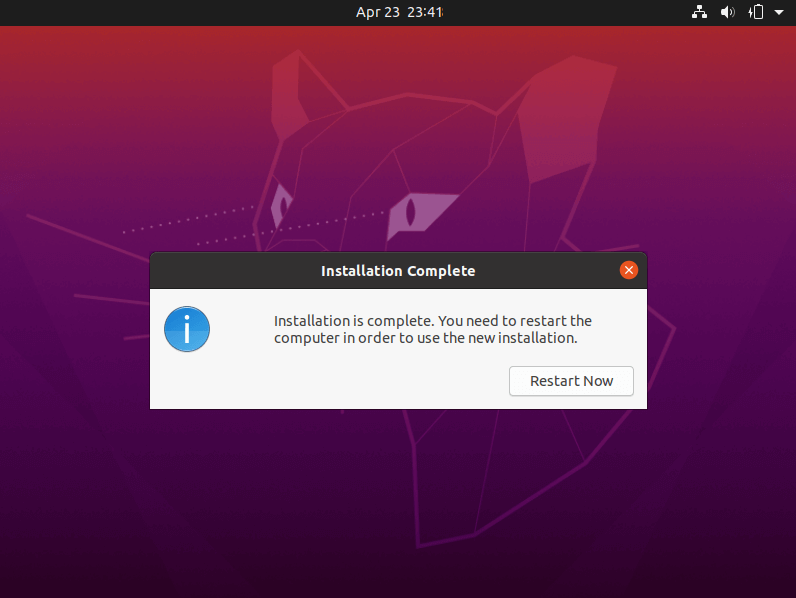
12. After the installation procedure reaches its end hitting on the Restart Now button in order to consummate the installation.
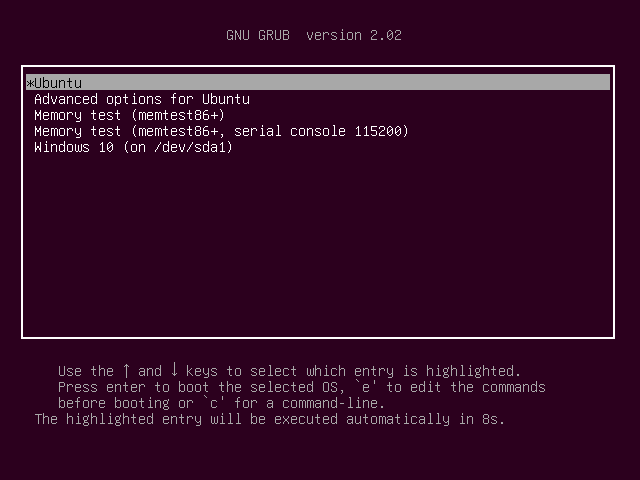
The motorcar volition reboot into the Grub carte, where for 10 seconds, you volition be presented to choose what Bone you wish to use farther: Ubuntu xx.04 or Microsoft Windows.
Ubuntu is designated as the default OS to kick from. Thus, merely press Enter key or wait for those 10 seconds timeout to bleed.
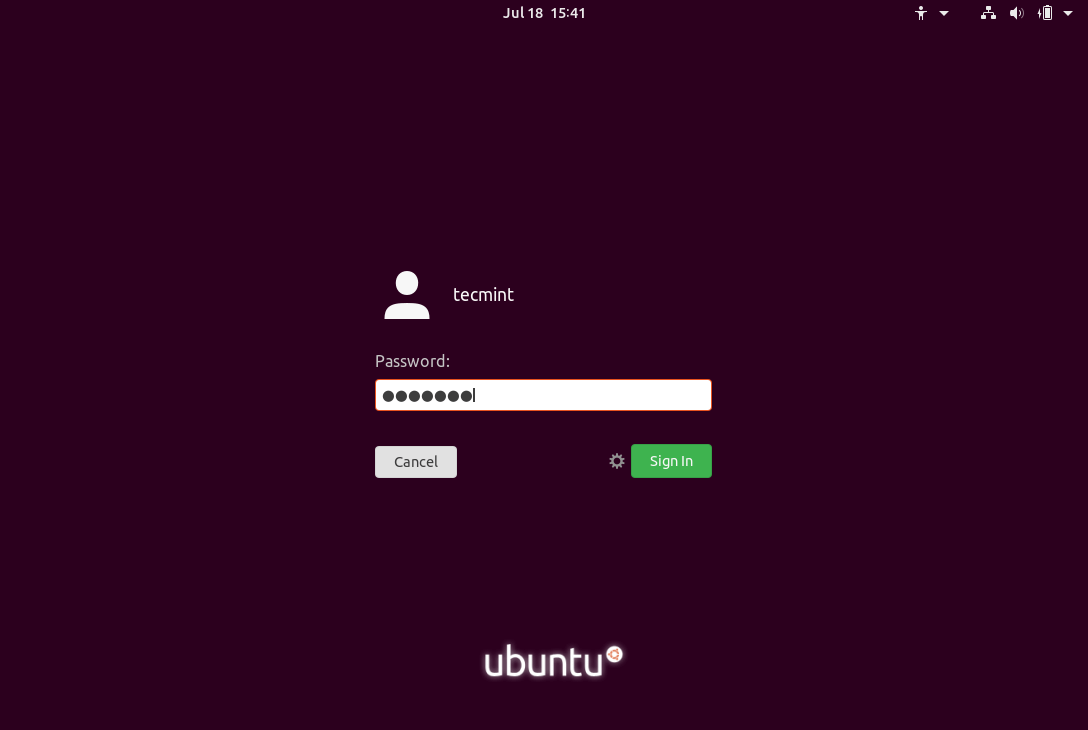
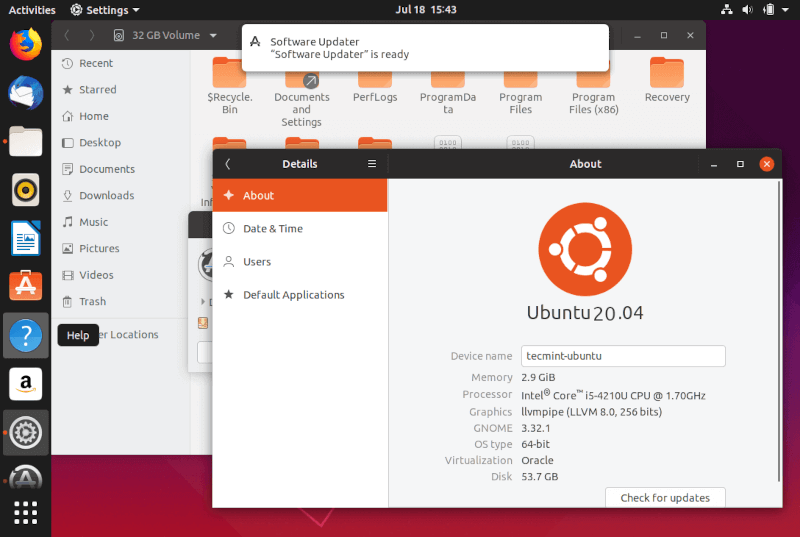
13. Afterwards Ubuntu finishes loading, log in with the credentials created during the installation process, and relish it. Ubuntu provides NTFS file system support automatically so you can admission the files from Windows partitions just past clicking on the Windows book.
That's it! In case you need to switch back to Windows, simply reboot the computer and select Windows from the Grub bill of fare.
If you lot want to install some additional software packages and customize Ubuntu, and so read our article Top 20 Things to Do After Ubuntu Installation.
If Y'all Appreciate What We Do Here On TecMint, Yous Should Consider:
TecMint is the fastest growing and near trusted community site for whatever kind of Linux Articles, Guides and Books on the spider web. Millions of people visit TecMint! to search or browse the thousands of published manufactures available FREELY to all.
If you similar what you are reading, please consider ownership us a coffee ( or 2 ) as a token of appreciation.

We are thankful for your never ending back up.
DOWNLOAD HERE
Posted by: helzerraident.blogspot.com


0 Komentar
Post a Comment